
Professional Starlink Installation: A Step-by-Step Engineering Guide for SE QLD
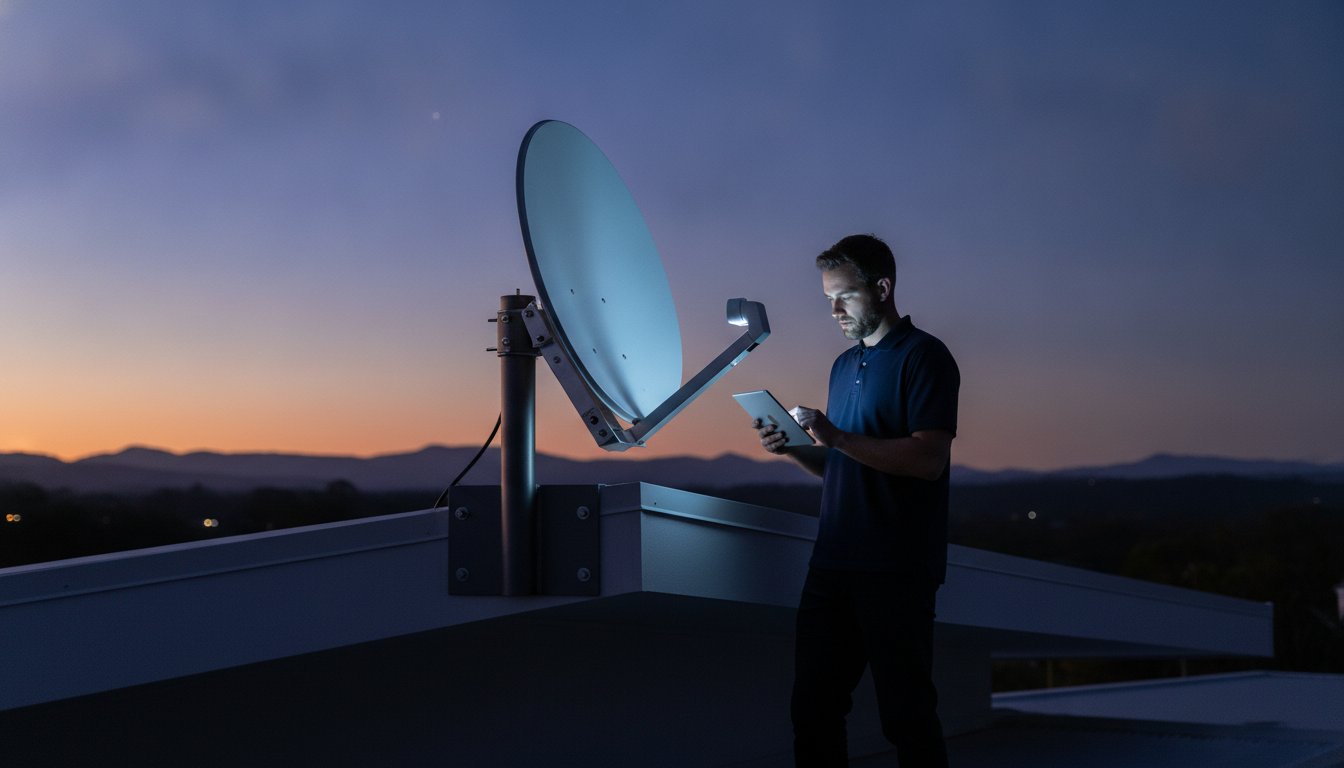
Tossing a Starlink dish on a tin roof with a few sandbags might get you online for a week, but it won't survive a South East Queensland supercell or deliver the uncapped speeds you're paying for. Most homeowners invest in satellite internet to escape dismal NBN performance, only to end up frustrated by messy cables draped over gutters and signal dropouts caused by poor placement. A professional starlink installation is about more than just finding a clear view of the sky; it's about engineering a permanent, weather-resistant solution that treats your data link with the same respect as your home's structural integrity.
You deserve a connection that works as hard as you do, without the eyesore of loose wires or the headache of WiFi dead zones. This guide outlines how we apply rigorous technical standards to achieve maximum uptime and seamless network integration. We'll detail the precise engineering workflow required for a reliable setup, from selecting high-wind rated mounts for our local climate to the meticulous commissioning of your internal network. You will learn how to transition from a basic setup to a robust, engineered system that delivers consistent, high-speed data to every corner of your property.
Key Takeaways
- Learn why SE QLD's volatile weather demands heavy-duty, galvanised steel mounting systems to ensure your hardware survives the next supercell.
- Discover how a professional starlink installation identifies 'invisible' signal obstructions to guarantee maximum possible uptime and speeds.
- Understand the technical necessity of Bypass mode for integrating your satellite link with a robust, whole-home WiFi design.
- Gain insights into the meticulous process of concealed cabling, ensuring a clean finish that protects your home's aesthetics and structural integrity.
- Identify the specific engineering steps required to transition from a temporary DIY setup to a permanent, high-performance network.
Why Starlink Installation in SE QLD Requires a Professional Approach
In South East Queensland, the weather isn't just a topic of conversation; it's a structural challenge. While the Starlink satellite constellation provides incredible global coverage, the hardware on your roof is the final link in that chain. A basic 'kickstand' setup in the yard might work for a weekend camping trip, but it's entirely unsuitable for a permanent residence. A professional starlink installation moves beyond the temporary mindset, treating your satellite dish as a fixed piece of communications infrastructure designed to withstand decades of intense UV and tropical storms.
Our region is famous for its aggressive afternoon supercells. High wind loads can easily dislodge a standard tripod or cause a poorly secured mount to vibrate. These vibrations aren't just a structural risk; they cause 'micro-dropouts' as the dish struggles to maintain its precision alignment with satellites moving overhead. This is where the difference between a standard 'tradie' install and an engineered solution becomes clear. A generic installer might bolt a bracket to your fascia, but an engineered approach considers structural load-bearing points and signal calibration to ensure your link remains solid when the weather turns.
In hinterland areas like the Scenic Rim or the Sunshine Coast, where dense foliage and rolling terrain are the norm, 'plug and play' often fails. A professional starlink installation accounts for the 100-degree clear sky view required for peak performance. Without this meticulous planning, you'll likely face intermittent signal loss as the dish attempts to track satellites behind a single overhanging gum tree or a neighbouring roofline.
Limitations of the DIY 'Out-of-the-Box' Setup
The standard tripod mount included in the kit is too fragile for the Australian sun and high-velocity wind gusts. Many DIYers attempt a quick fix by running the proprietary cable through a window or a sliding door. This creates an immediate security vulnerability, compromises your home's thermal insulation, and eventually pinches the delicate internal cores within the cable. Without professional-grade tools to map obstructions, it's easy to miss subtle blockages that cause your connection to stutter during a Zoom call or gaming session.
The Value of Technical Integration
A professional approach focuses on the clean finish that DIY setups lack. We prioritise concealed cabling, using specialised entry points and internal wall plates to ensure no wires are left dangling off your gutters. This isn't just about aesthetics; it's about protecting the cable from UV degradation and pests. Beyond the physical mount, we ensure your new high-speed link integrates seamlessly with your existing smart home or security systems. By planning for future hardware iterations, including the latest Gen 3 requirements, we build a network that remains robust as the technology evolves.
Selecting the Optimal Mounting Position for Maximum Uptime
Achieving a reliable connection starts with a meticulous site survey. While the Starlink app provides a basic guide, a professional starlink installation requires a precise mapping of the 100-degree clear sky view. This isn't just about looking up; it's about accounting for the satellite's specific orbital paths across the Southern Hemisphere. We look for 'invisible' obstructions that a standard phone camera often misses. Overhead power lines, the peak of a neighbour's double-storey home, or the swaying canopy of a distant gum tree can all cause intermittent signal drops. Aligning with Australian regulatory requirements, we ensure every mount meets technical safety and interference standards to provide a stable, long-term link.
Mounting height is a delicate balance between clearing obstacles and maintaining signal stability. A dish mounted too high on a flimsy pole will catch the wind and vibrate, leading to jitter and packet loss. We find the 'sweet spot' on your roofline where the dish has a commanding view but remains shielded from the worst of the directional gusts. We also consider the thermal environment. In the heat of a Queensland summer, the Starlink dish and router generate significant internal heat. Ensuring adequate airflow around the hardware is critical to prevent thermal throttling, which can artificially cap your speeds during the hottest parts of the day.
Australian Roof Types and Hardware Selection
Colorbond roofs are the standard in SE QLD but require specialised hardware to avoid piercing the sheet in a way that leads to rust or leaks. We use heavy-duty, rafter-mounted brackets that transfer the load directly to the building's frame rather than the thin metal skin. For tile roofs, generic 'over-the-tile' clips are a recipe for disaster, as they often crack tiles under wind pressure. We utilise specialised tile-replacement mounts that provide a superior weather seal and a rigid foundation. If you're unsure which mounting solution suits your property's aesthetics and structural needs, our team can provide a professional on-site assessment to determine the best path forward.
Mitigating SE QLD Environmental Risks
Salt air on the Gold Coast is a silent killer for inferior hardware. We prioritise galvanised or stainless steel components during every starlink installation to prevent the rapid corrosion that plagues generic mounts. In the hinterland, high-set homes often face extreme wind-loading. We perform specific calculations to ensure your mount doesn't flex, as even a few millimetres of movement can degrade your data throughput. To protect your investment from our volatile weather, we integrate dedicated surge suppression to safeguard your satellite hardware against the frequent lightning strikes common during our summer storm season.
The Technical Reality: DIY Setup vs. Structured Network Integration
Setting up the dish is only the first phase of a high-performance starlink installation. While the hardware on your roof captures the signal, the standard router included in the box is frequently the primary bottleneck in residential networks. These consumer-grade units are built for basic coverage; they often struggle to penetrate the brickwork and insulation found in modern South East Queensland homes. To achieve true gigabit-ready performance, we utilise 'Bypass mode'. This technical configuration disables the internal routing functions of the Starlink hardware, allowing us to hand off the data stream to a more capable, professional WiFi design.
A truly engineered setup relies on structured cabling rather than just wireless mesh nodes. We run high-quality, shielded Cat6 cabling from the external dish directly to your internal network rack or communications hub. This physical connection eliminates the latency and interference issues inherent in wireless backhaul, ensuring that the low-latency benefits of the satellite link aren't lost before they reach your devices. By centralising your hardware in a dedicated rack, we provide a stable, cooled environment that prevents the hardware from thermal throttling during the peak of summer.
Overcoming the Proprietary Cable Challenge
Starlink's proprietary connectors present a unique challenge for internal wall runs. Unlike standard RJ45 plugs, these specialised heads require specific clearance and handling to avoid damage during the pull. We also carefully calculate cable lengths. Excessive runs on Gen 3 hardware can lead to voltage drops that compromise Power over Ethernet (PoE) stability, potentially causing the dish to reboot during high-usage periods. Professional termination ensures that every millimetre of copper is delivering peak power and signal integrity without the risk of corrosion or physical failure.
Starlink as a Primary vs. Failover Connection
For many hinterland businesses and high-demand households, Starlink acts as a critical redundancy layer. By configuring a dual-WAN router, we can organise your network to automatically failover from a struggling NBN connection to the satellite link. This setup allows for advanced traffic prioritisation, ensuring that VoIP calls and video conferencing take precedence over background downloads. We move beyond the basic statistics in the Starlink app, providing deeper visibility into packet loss and jitter to maintain a truly robust connection. This level of starlink installation ensures your home remains connected even when local landline infrastructure fails during a storm.
Step-by-Step: How We Execute a Meticulous Starlink Installation
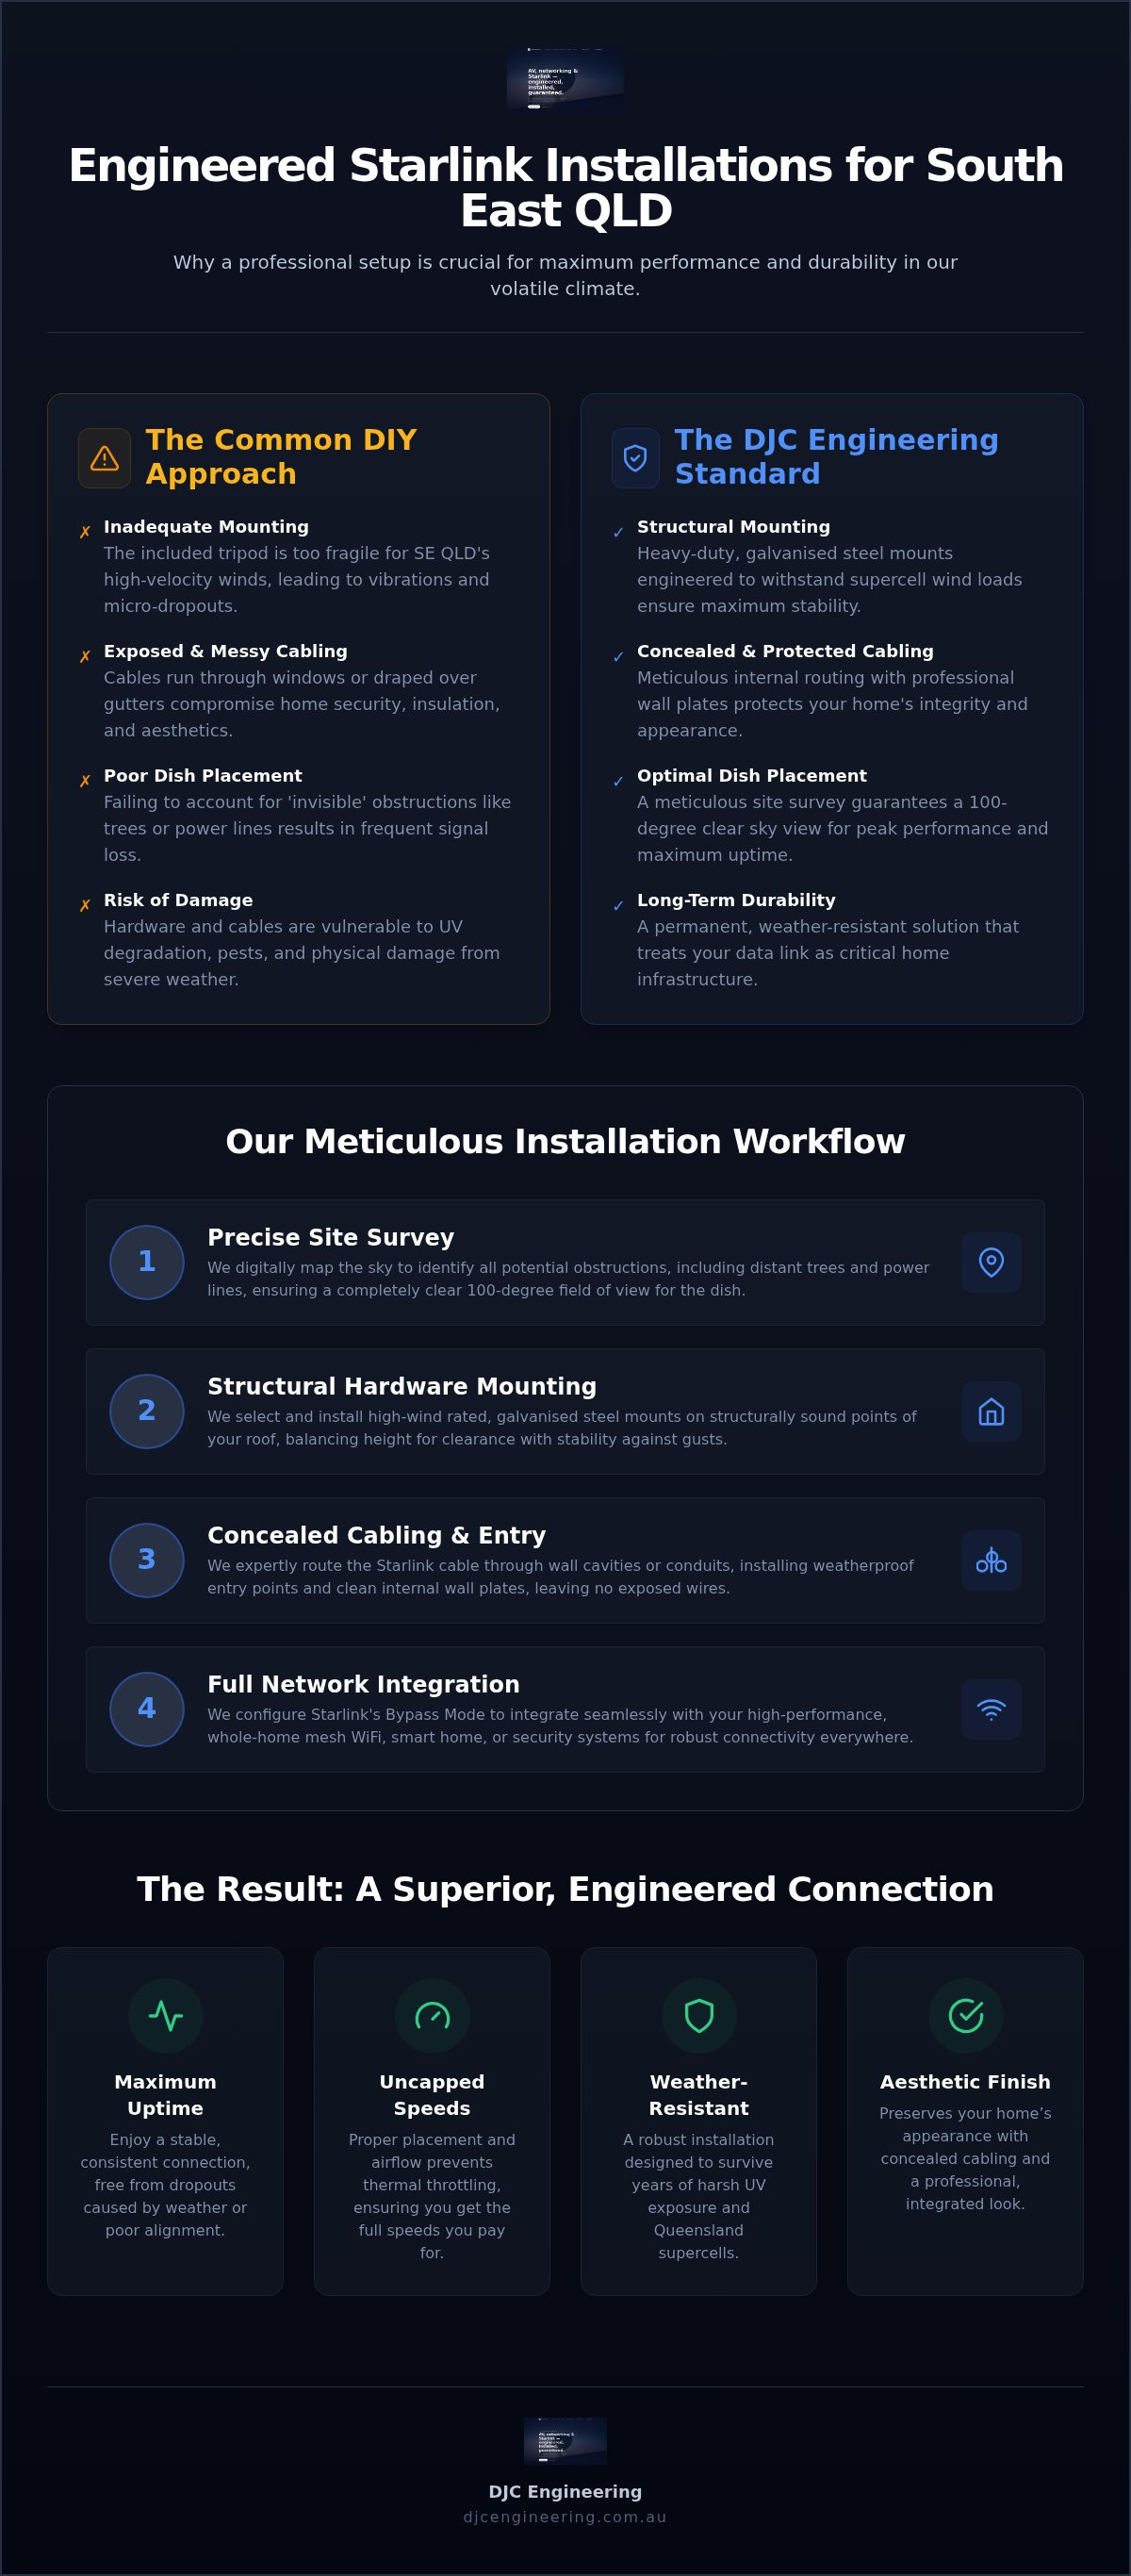
Our workflow is a disciplined progression from initial assessment to final verification. A professional starlink installation isn't just about sticking a dish on a roof; it's a technical procedure that ensures your hardware performs at its theoretical limit. We follow a methodical five-step process designed to eliminate the common failure points of DIY setups.
Step 1 begins with a precision site survey. We don't rely on guesswork. By using digital obstruction analysis tools, we pinpoint the exact coordinate on your roofline that guarantees an uninterrupted 100-degree view of the satellite arc. This is followed by Step 2: structural mounting. We utilise heavy-duty, galvanised Australian steel hardware that's specifically rated for the wind loads encountered in South East Queensland. This rigid foundation prevents the micro-vibrations that cause packet loss during high winds.
Step 3 focuses on meticulous cable routing. We avoid the 'cable over the gutter' approach, instead navigating roof cavities and internal wall voids to reach your network hub. We use high-quality bushings and internal wall plates to provide a clean, professional finish that protects the proprietary cable from UV damage and rodents. Step 4 involves the technical commissioning of the system. We force necessary firmware updates and calibrate the dish's alignment to ensure it's locked into the optimal orbital path. Finally, Step 5 is network calibration. We perform WiFi heatmapping across your property to ensure your high-speed satellite link is accessible in every room, not just the one next to the router.
If you're ready to move beyond a temporary setup and want a connection that survives the next storm season, you can secure your engineered starlink installation with our specialist team today.
The Commissioning Process
Alignment and calibration are the core of the commissioning phase. We verify that the dish has successfully locked onto the satellite arc with zero obstructions. Our technicians perform rigorous speed testing and latency verification at various intervals to ensure the connection is stable under load. We then conduct a formal handover, training you on how to monitor your system's health and understand the technical indicators of a healthy link.
Post-Installation Quality Assurance
Precision doesn't end when the dish is mounted. We conduct a thorough weatherproofing check, inspecting every seal and cable entry point to ensure your home's envelope remains watertight. Our cable management standards are strict; we ensure there are no loose loops or exposed wiring that could catch the wind or degrade over time. Finally, we verify the integration of your new connection with existing infrastructure, such as CCTV or security alarm systems, ensuring your entire smart home ecosystem is functioning perfectly on the new link.
Maximising Your High-Speed Connectivity with DJC Engineering Pty Ltd
At DJC Engineering Pty Ltd, we don't just provide a service; we deliver a technical result. Our engineering-first philosophy ensures that your starlink installation isn't just functional today, but robust enough to handle the environmental and data demands of tomorrow. We take full accountability for every millimetre of the setup, from the structural integrity of the roof mount to the neatness of the equipment rack. This meticulous attention to detail is what separates a professional installation from a generic one. We service the Gold Coast, Brisbane, and the wider South East Queensland region, bringing local knowledge of our unique terrain and volatile weather patterns to every project we undertake.
Our approach is built on the belief that a satellite link is only as good as the infrastructure supporting it. By refusing to take shortcuts, we protect your hardware from the premature failure and signal degradation that plagues less rigorous setups. We treat your home or business as a complete ecosystem, ensuring that your new high-speed link becomes a reliable foundation for your broader digital infrastructure. Whether you are running a home office in the Scenic Rim or a commercial facility in Logan, our goal is to provide a connection that feels as stable and fast as a metropolitan fibre link.
Custom Solutions for Complex Properties
Complex properties often require more than a single router to achieve effective coverage. We design and implement multi-building links using high-capacity wireless bridges or optical fibre to share your Starlink connection across sheds, studios, or separate offices without losing signal integrity. For high-demand environments, such as rural businesses or commercial sites, DJC Engineering Pty Ltd scales the internal networking to support higher user counts and mission-critical applications. Our commitment to your connectivity includes ongoing support and technical maintenance, providing peace of mind that your system will continue to perform at its peak as the satellite constellation expands.
Ready for a Professional Connection?
Transitioning to a high-speed satellite link should be a seamless, professional experience. When you book a technical assessment with our team, we evaluate your property's specific layout and potential obstructions to provide a clear, engineered plan. On your installation day, our licensed technicians execute the work with a focus on precision, neatness, and total system calibration. We're ready to help you unlock the full potential of your network with a setup that is built to last. Contact DJC Engineering Pty Ltd for a meticulous Starlink installation today.
Secure Your High-Performance Digital Future
Transitioning from a basic satellite link to a robust, engineered network requires a shift in perspective. A professional starlink installation isn't just about signal; it's about structural resilience and internal network integrity. By prioritising heavy-duty mounting and structured cabling, you protect your hardware from the elements and ensure your data reaches every corner of your property without bottlenecking. This methodical approach ensures your connectivity remains stable through the most demanding South East Queensland weather conditions.
Our team of licensed SE QLD technicians at DJC Engineering Pty Ltd brings a meticulous approach to every project, specialising in structured cabling and WiFi design to deliver a clean, professional finish. We don't take shortcuts because we know that quality engineering is the only way to guarantee maximum uptime in our volatile climate. With our clean, meticulous workmanship guaranteed, you can trust that your digital infrastructure is built to last. You've invested in the hardware; now give it the technical foundation it deserves.
Book Your Professional Starlink Installation with DJC Engineering Pty Ltd and experience the difference that precision engineering makes to your home or business connectivity.
Frequently Asked Questions
Do I need to buy the Starlink hardware before booking an installation?
Yes, you must purchase your hardware kit directly from Starlink before we arrive on-site. We're a specialist installation and engineering firm, not a hardware retailer. Once your kit is delivered, we provide the technical expertise, heavy-duty mounting hardware, and cabling required to transition it from a temporary setup to a permanent, high-performance network.
Can Starlink be installed on a Colorbond roof without causing leaks?
Absolutely, provided you use an engineered approach that respects the roof's structural integrity. We utilise specialised rafter-mounted brackets that secure the dish directly to your home's frame rather than just the metal sheeting. Combined with professional-grade weatherproofing seals, this ensures your roof remains completely watertight even during the most intense tropical downpours.
Will Starlink work during heavy South East Queensland rainstorms?
Starlink is remarkably resilient, though extreme supercells can occasionally cause "rain fade," which is a brief signal attenuation. By meticulously mapping your 100-degree clear sky view during the starlink installation, we ensure your dish has the best possible chance of maintaining a lock. Most users find the connection remains stable during standard rain events, only dropping briefly during the heaviest parts of a storm.
How do I get the Starlink cable inside my house without a messy hole in the wall?
We avoid messy external wiring by navigating your roof cavity and using internal wall voids. Our technicians pull the proprietary cable through the ceiling space and down into your desired room, finishing the job with a neat, recessed wall plate. This professional finish protects the delicate cable from UV damage and rodents while keeping your home's aesthetics clean and professional.
Is the standard Starlink router good enough for a large double-storey home?
The standard router is often the weakest link in a large Australian home. While it's fine for a small unit, its signal often fails to penetrate the floor joists and brickwork of a double-storey property. We typically recommend using Bypass mode to integrate your satellite link into a professional WiFi design, ensuring high-speed data reaches every corner of your house without dead zones.
Can I use Starlink as a backup for my existing NBN connection?
Yes, Starlink is an excellent redundancy solution for businesses and remote workers. By using a dual-WAN router, we can configure your network to failover to the satellite link automatically if your NBN connection drops out. This ensures your security cameras, smart home systems, and office applications remain online during local infrastructure failures or storm damage.
What is the best mount for a high-wind zone on the Gold Coast?
High-wind zones require a heavy-duty, galvanised steel ridge mount or a tripod secured directly to the rafters. We don't use generic antenna mounts; instead, we select hardware engineered to withstand the specific wind loads found in coastal and hinterland areas. A rigid foundation is critical for a professional starlink installation, as it prevents the dish from vibrating, which can cause jitter and speed fluctuations.
Does professional installation include setting up my WiFi mesh system?
Yes, our commissioning process covers the full integration of your networking hardware. We don't just bolt a dish to the roof and leave; we ensure the data link is correctly feeding your WiFi mesh or internal network rack. This includes calibrating the system for peak performance and verifying that your internal network is delivering the maximum possible speeds to your devices.
Frequently Asked Questions
Transitioning to a high-speed satellite link should be a seamless, professional experience. When you book a technical assessment with our team, we evaluate your property's specific layout and potential obstructions to provide a clear, engineered plan. On your installation day, our licensed technicians execute the work with a focus on precision, neatness, and total system calibration. We're ready to help you unlock the full potential of your network with a setup that is built to last. Contact DJC Engineering Pty Ltd for a meticulous Starlink installation today. Transitioning from a basic satellite link to a robust, engineered network requires a shift in perspective. A professional starlink installation isn't just about signal; it's about structural resilience and internal network integrity. By prioritising heavy-duty mounting and structured cabling, you protect your hardware from the elements and ensure your data reaches every corner of your property without bottlenecking. This methodical approach ensures your connectivity remains stable through the most demanding South East Queensland weather conditions. Our team of licensed SE QLD technicians at DJC Engineering Pty Ltd brings a meticulous approach to every project, specialising in structured cabling and WiFi design to deliver a clean, professional finish. We don't take shortcuts because we know that quality engineering is the only way to guarantee maximum uptime in our volatile climate. With our clean, meticulous workmanship guaranteed, you can trust that your digital infrastructure is built to last. You've invested in the hardware; now give it the technical foundation it deserves. Book Your Professional Starlink Installation with DJC Engineering Pty Ltd and experience the difference that precision engineering makes to your home or business connectivity.
Yes, you must purchase your hardware kit directly from Starlink before we arrive on-site. We're a specialist installation and engineering firm, not a hardware retailer. Once your kit is delivered, we provide the technical expertise, heavy-duty mounting hardware, and cabling required to transition it from a temporary setup to a permanent, high-performance network.
Absolutely, provided you use an engineered approach that respects the roof's structural integrity. We utilise specialised rafter-mounted brackets that secure the dish directly to your home's frame rather than just the metal sheeting. Combined with professional-grade weatherproofing seals, this ensures your roof remains completely watertight even during the most intense tropical downpours.
Starlink is remarkably resilient, though extreme supercells can occasionally cause "rain fade," which is a brief signal attenuation. By meticulously mapping your 100-degree clear sky view during the starlink installation, we ensure your dish has the best possible chance of maintaining a lock. Most users find the connection remains stable during standard rain events, only dropping briefly during the heaviest parts of a storm.
We avoid messy external wiring by navigating your roof cavity and using internal wall voids. Our technicians pull the proprietary cable through the ceiling space and down into your desired room, finishing the job with a neat, recessed wall plate. This professional finish protects the delicate cable from UV damage and rodents while keeping your home's aesthetics clean and professional.
The standard router is often the weakest link in a large Australian home. While it's fine for a small unit, its signal often fails to penetrate the floor joists and brickwork of a double-storey property. We typically recommend using Bypass mode to integrate your satellite link into a professional WiFi design, ensuring high-speed data reaches every corner of your house without dead zones.
Yes, Starlink is an excellent redundancy solution for businesses and remote workers. By using a dual-WAN router, we can configure your network to failover to the satellite link automatically if your NBN connection drops out. This ensures your security cameras, smart home systems, and office applications remain online during local infrastructure failures or storm damage.
High-wind zones require a heavy-duty, galvanised steel ridge mount or a tripod secured directly to the rafters. We don't use generic antenna mounts; instead, we select hardware engineered to withstand the specific wind loads found in coastal and hinterland areas. A rigid foundation is critical for a professional starlink installation, as it prevents the dish from vibrating, which can cause jitter and speed fluctuations.
Yes, our commissioning process covers the full integration of your networking hardware. We don't just bolt a dish to the roof and leave; we ensure the data link is correctly feeding your WiFi mesh or internal network rack. This includes calibrating the system for peak performance and verifying that your internal network is delivering the maximum possible speeds to your devices.